


© 2020 - DashTech. All Right Reserved.
Internet
Java Web Apps Unleashed: Harnessing the Power of Java for Web Development
Java, a strong and flexible programming language, has cemented its location as a backbone of web development. It's recognised for...
Read moreGadgets
Entertainment


How To Sell Online In 2024
Best and effective guide how to sell online will be described in this article. Starting a Business Online There are...

Northern Tool: Your Ultimate Destination for Tools and Equipment
Are you in need of reliable tools and equipment for your projects? Look no further than Northern Tool, the leading...

Salesloft: Revolutionizing Sales Engagement Platforms
Salesloft is a groundbreaking platform that is transforming the way sales teams engage with prospects and customers. It offers a...
Phones


MORE NEWS
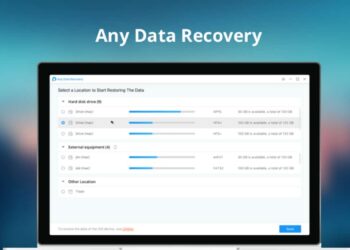
10 Best Free Data Recovery Software [2024 Edition]
In this post, we're going to list the complimentary and best free data recovery software for 2024 that can help...

Youtube2Mp3 Converter Best 21 Alternatives Websites
Youtube2mp3 converter is the most popular YouTube converter, allowing users to convert YouTube videos to MP3 or MP4 format and...

Top 10 Artificial Intelligence Stocks You Can Buy In 2024
Millions of consumers connect with Artificial Intelligence Stocks or indirectly on an everyday basis through digital aides, facial-recognition innovation, gaming...

Top 15 Best Chatville Alternatives In 2024
This article shows chatville alternatives. It is a totally free cam group where great deals of genuine amateur users are...
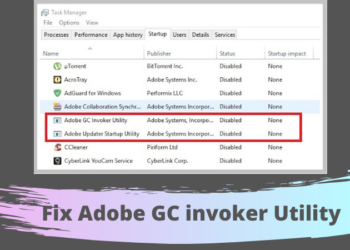
What is Adobe Gc Invoker Utility?
This article will show details regarding gc invoker utility. When you deal with an issue of a program freeze while...

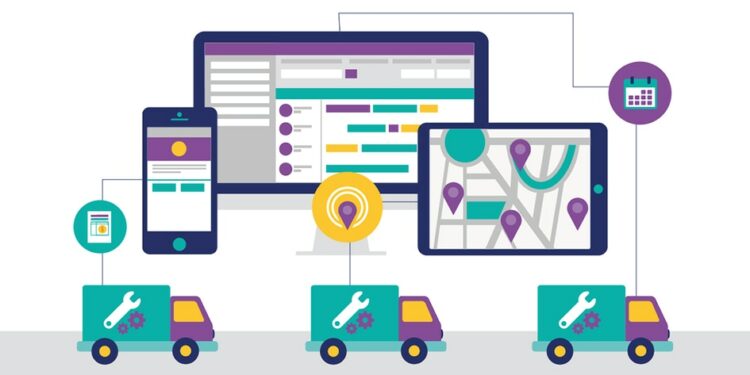
Top 10 Best Hyperlocal Delivery Management Software
Best hyper local delivery management software will be described in this post. In the 20 years that it has been...

Top 15 Best USE Browser Alternatives in 2024
Best and popular USE browser alternative will be discussed in this article. USE Browser is a quick web browser for...
Popular Posts